Adding a blog post to Shopify is easy. Ease of use is one of the major benefits of using Shopify. However there are lots of small things you can do to make sure that your posts are optimal when it comes to SEO.
Here we run through everything from adding the content, the feature image and looking at the meta data.
The only assumption we will make is that you have written a quality post; something that will engage with the intended audience and hold value to the reader. The words you write are the most crucial element. All the best on-page SEO with the fastest loading pages mean nothing if the content isn't up to scratch.
Let's run through everything in the order it's presented to you when you click "add new post” in the Shopify admin.
If you would like to learn more about Shopify, or how we can support you be it building a brand new store or supporting your existing store, get in touch to learn more.
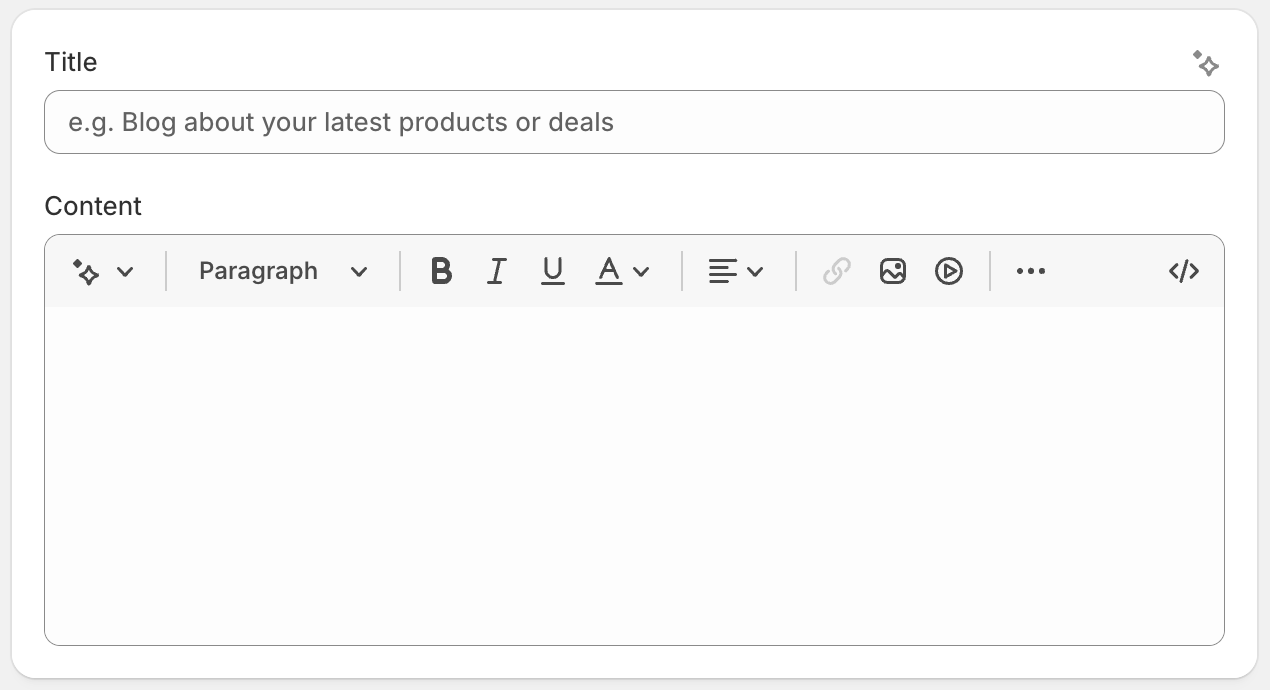
The title
The title of your post is obviously required, but take care to make it concise and clearly describe the post that you are writing. Don't make it too lengthy. Whilst there are no technical limitations, try and keep the title under between 40 and 70 characters.
This title will be used in various places. In the cards on the main blog page that link to the full post, and the blog post itself where it will be a H1 header in the HTML.
In our demo (see screen grab below), our title is "How to add Shopify blog posts, optimised for search" which clearly describes what we are writing about, and the intent which is to optimise Shopify blog posts for SEO.
The content
Then comes the post itself. You can add as little or as much as you like here, but usually any meaningful post will have 500 words or more, separated by a few headings to make it easier to read.
That's not to say you must add a minimum of 500 words, you don't. If you can get across all you need to say in 100 words that's fine. It's just that for most subjects, being a little more verbose is the idea of writing the post.
At this point in writing this post, I'm at about 370 words and I've only yet covered the Title and part way through the content.
Don't copy/paste
The Shopify editor is like a cut down word processor. One of the things is can tend to do is paste hidden formatting if you were to copy a post you have written somewhere else, say MS Word, and pasted it into the editor.
If you must copy/paste, you should be able to paste without formatting. On my Mac I can paste without formatting using Shift-Command-V.
The hidden formatting might look OK within the Shopify editor, but might have strange consequences when viewed on the final web page. Remember, you can create the post directly in Shopify and keep it saved as draft until you are happy.
Paragraphs
Try to use short paragraphs. Having lots of short paragraphs makes reading posts on the web much easier. Viewers often skim read and short broken out paragraphs helps in that regard.
Take the BBC website for example. If you read a story on their website you will notice how the text is broken out into lots of paragraphs, almost on a per sentence basis.
Much of this will depend on what you are writing about and your intended audience, but it's more likely to be better for most posts to not have long paragraphs.
Headings
Think in terms of hierarchy. The main post title will be published in the HTML of the web page using what's known as a H1 tag. Think of this like Heading 1 in Word.
In your post, you will want to start using H2s (called Heading 2 in the Shopify editor) for subheadings to break up sections of your post.
If a section needs to be further broken up, use Heading 3s.
This 'semantic HTML' helps search engines understand the organisation of your post and is considered good SEO practice.
For example, the headings that break up the main content of your page might be structured something like this. There should only ever be one H1.
- H1 (Heading 1) - heading, the main page title
- H2 (Heading 2) - sub heading
- H2 (heading 2) - sub heading
- H3 (heading 3) - further sub heading
- H3 (heading 3) - further sub heading
- H3 (heading 3) - further sub heading
- H2 (heading 2) - sub heading
- H2 (heading 2) - sub heading
Images within the post
Shopify allows you to add images to your post, embedded within the main text. I'd recommend using a landscape image where possible and setting it to centralised and a width that is going to fill the width of the page in your themes blog section.
The image you upload needs to be optimised prior to uploading. This means creating the image to a sensible pixel size and using an image optimisation tool, such as Squoosh.app to reduce the file size as much as possible while retaining the sharpness required for it to look good on screen.
Make sure you add a descriptive alt text to the image, as this will help both your SEO and Accessibility.

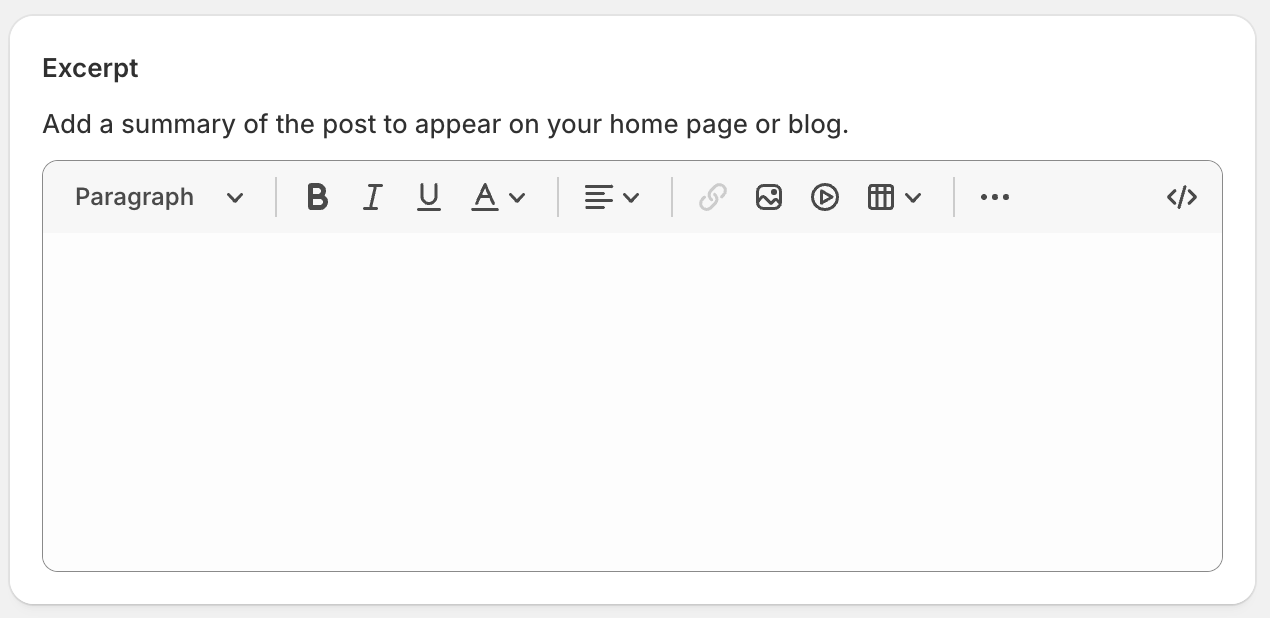
Excerpt
The excerpt box isn't always used by your Shopify theme, but typically it is the short description that you see in the cards on the main blog page, the page that lists all of your blog posts.
It doesn't have any direct SEO impact but it does help people get an idea of the post you are creating and can tease them a little encouraging them to click to find out more.
By default the Excerpt box isn't expanded to allow you to add content. You need to click the small pencil icon and the editor will appear.
Search engine listing
This is one of the most overlooked sections, but it is very important. It allows you to add text that will influence what Google and other search engines display on their main results pages (the SERP, or Search Engine Results Page)
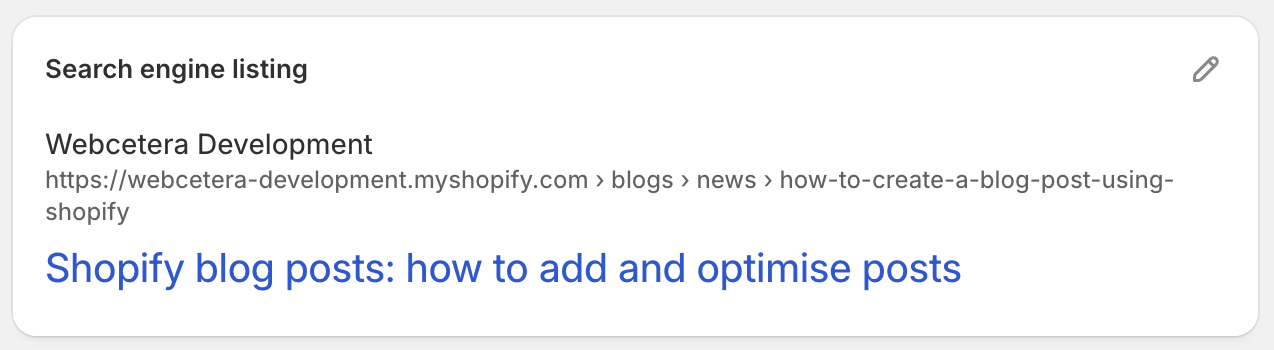
Like the excerpt section, you might need to click the small pencil icon to open up the options.
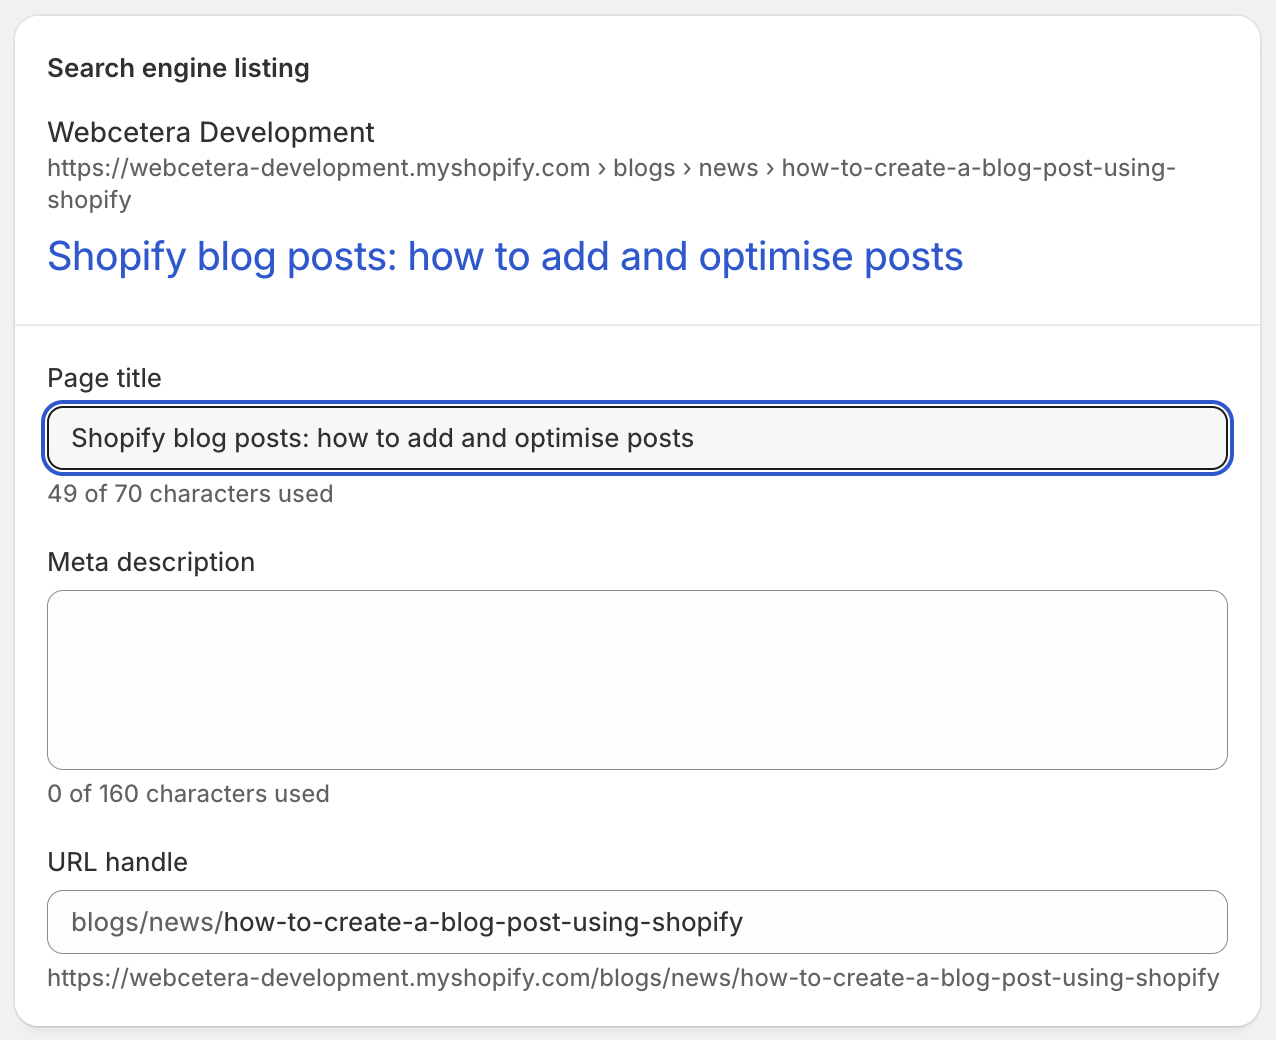
Once you have, there will be a preview of how the search engines will present your page, including the meta title and meta description.
Meta Title
The meta title shouldn't be confused with the main page title, and it should usually be slightly different. It's what is (usually) used by the search engines in the search results pages. The meta title is important and used by search engines to understand your post as they crawl your page.
It's also worth noting that sometimes people add a pipe and their business name, e.g. "My blog title | Webcetera".
But Google recently said that it would be stripping that part of meta title and might even create their own altogether based on what it understands about your post.
Meta Description
The meta description isn’t used as a ranking factor (at least by Google, so they tell us), but it is still very important. It needs to be written in a way that will encourage people to click to your post. It encourages page clicks. Have you ever looked at Google Search Console to see what search terms people are using to reach your website? In the Performance report, you can see page impressions (how many tomes your website has appeared in the SERP for a given search term) and how many Click that page impression has (how many people say your site in the results and actually clicked to go there).
If the meta description includes the words that a person used in their search, and if your post is in the search results page, then those words will be in bold. This is likely to result in more clicks to your post.
Publishing
You will notice a few options on the blog page in the right side column.
Visibility
You can keep the post in draft as you are working on it, publish straight away, or schedule when the post will auto-publish.
The scheduling is useful if you are working on a series of posts. You might spend a few day writing them, but want them publishing at the same time each week, say 9am each Friday when you know your audience is likely to be looking at your website, or in line with your marketing.
Image
The 'feature' image is important and is used in a variety of places.
First of all, your website theme likely uses this image within the card on the main blog page. And when you reach the main blog post itself, often the feature image is what is shown at the top of the page, in the hero section for example.
Importantly, it is also used for what is called Open Graph (OG) data. These are special HTML tags that inform social platforms and other systems how to present your page when you paste the URL.
Have you ever noticed that when you paste a web link into, say, LinkedIn, Facebook or even WhatsApp, an image that goes with the link automagically appears? That's the OG image.
I would suggest that you create an optimised image and set a standard for posts so that everything is uniform.
- 2000 x 1333 pixels is a good base size
- Use Squoosh.app or similar to make sure that the file size of the image has been optimised, aim for around the 100KB in file size if possible
- Upload the image in JPG format. Shopify will create a WebP or other modern format automatically and use that in places that can deal with such formats.
The consistent pixel sizing means that you won't get those awkward odd-size cards on the main blog page.
Author
This might seem obvious, but remember that the author will be part of special schema data that gets sent along with the post, so search engines might pick up on this.
You can only select authors that are either the owner or staff accounts in your Shopify account.
Blog
It is possible to have more than one blog on your website. For example a News blog and a Recipe blog. Choose where you want this page to be housed.
Tags
Tags help with the sorting and in some cases the filtering of blog posts. Don't use them to try and add keywords, this is a common misconception of what they are there for and can in fact do more harm than good.
Final notes
If you are writing regular, good quality blog posts and adhering to the best practices as described above, you are on the right track.
The next things you might want to consider are checking your blog post, the web page that has been newly created in your website, in Google Search Console to check for any technical issues. If it all looks good, submit it to be indexed.
If your site is popular Google will pick this up pretty quickly and submitting like this might not really be required.
If you would like any help or support with your Shopify website, get in touch. We'd be happy to discuss how we might work with you to build a new Shopify store, or help improve your existing store.