Updated March 2026 to include WebP and AVIF formats and reflect current best practice.
Images are the single biggest reason websites load slowly. Get them wrong and you're handing visitors a reason to leave before your page has finished loading, and giving Google a reason to rank you lower. Get them right and you improve your page speed, your search rankings and the experience for everyone visiting your site.
Here's how to do it.
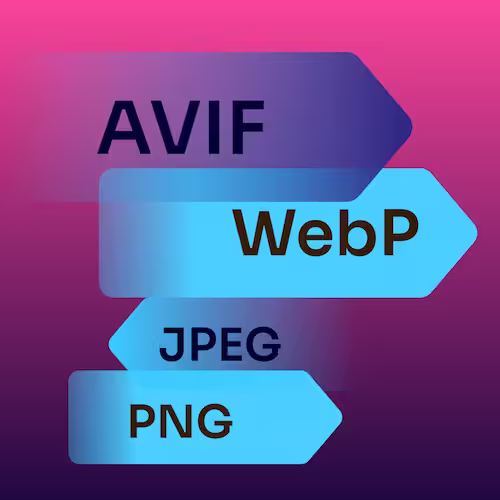
Choose the best file type
The format you choose has a direct impact on file size, quality and how quickly your page loads. For a long time, the choice came down to JPEG or PNG. That's still a useful starting point, but modern formats have changed the picture.
JPEG: Best for photographs and complex imagery where transparency isn't required. JPEGs compress well and are universally supported, making them a reliable fallback.
PNG: Retains quality and supports transparency, which makes it the right call for logos and graphics with cut-out backgrounds. The trade-off is larger file sizes.
WebP: WebP is now the sensible default for most web images. It delivers significantly smaller file sizes than JPEG or PNG at comparable quality, and browser support is excellent across all modern browsers. If you're not already using WebP, you should be.
AVIF: AVIF is the next step up. It compresses even better than WebP and handles complex images particularly well. Browser support is good and improving. Tools like Squoosh let you export to AVIF, so it's worth testing — especially for product images where page speed directly affects conversions.
For a deeper look at how these formats compare and which to use in different situations, take a look at our guide to choosing the best image format for your website.
Pixel size
The pixel size of the image has a direct bearing on its resulting file size and quality. A tiny image, say 200 pixels wide by 150 pixels tall, will only look good at that size. If you increase its view size in your web browser to get a better look, it will look blurry and chunky and not crisp at all.
So the first thing to do is determine what size on the screen you need the image. A small thumbnail image that doesn't need to be magnified in any way might be best created at about 200 pixels wide. An important photo that is central to an article or a product photograph on an ecommerce website will need to be much larger, say 1200 to 2000 pixels wide.
When you optimise an image (see the tools section below on how to go about doing this), it's worth noting that a 2000 pixel JPEG image set to about 50% 'quality' will end up at about the same file size as a 1200 pixel wide image set to 75% 'quality'. And, it will look much sharper on-screen, overall.
For images such as blog feature images and product photos, we'd recommend a pixel size of 2000 pixels but using a much lower quality score, around 50%, when adjusting the quality slider. Different images will produce different results, so experiment. Remember, it's as much an art as it is a science.
File size
But what file size are you looking to achieve? For a typical product image, you should be looking in the region of 100 - 120 kB. Lower, if you can. For a small logo, much nearer to 10kB.
When you consider that many high-quality images from cameras can be 5MB or much more, you can appreciate the difference. To put this into context, 100kB = 0.1MB.
Let's look at an example image. This image started life at 6000 pixels wide and 21MB. After being optimised, it is now 2000 pixels wide and 119kB, a 99% saving in file size.
Remove meta data
Whether they are created in a camera or software, images are full of metadata by default. This is data embedded into the images that hold useful information such as GEO co-ordinates, author names, image descriptions and much more. And metadata uses valuable kB's.
If the image's purpose is for a website, the chances are you don't need this data, so it's best to remove it. There are cases when you need such data, for example, if your website is an image gallery website that reads this data for a purpose, but this is a far less common requirement.
The tools we discuss below all have options to remove image metadata.
File names
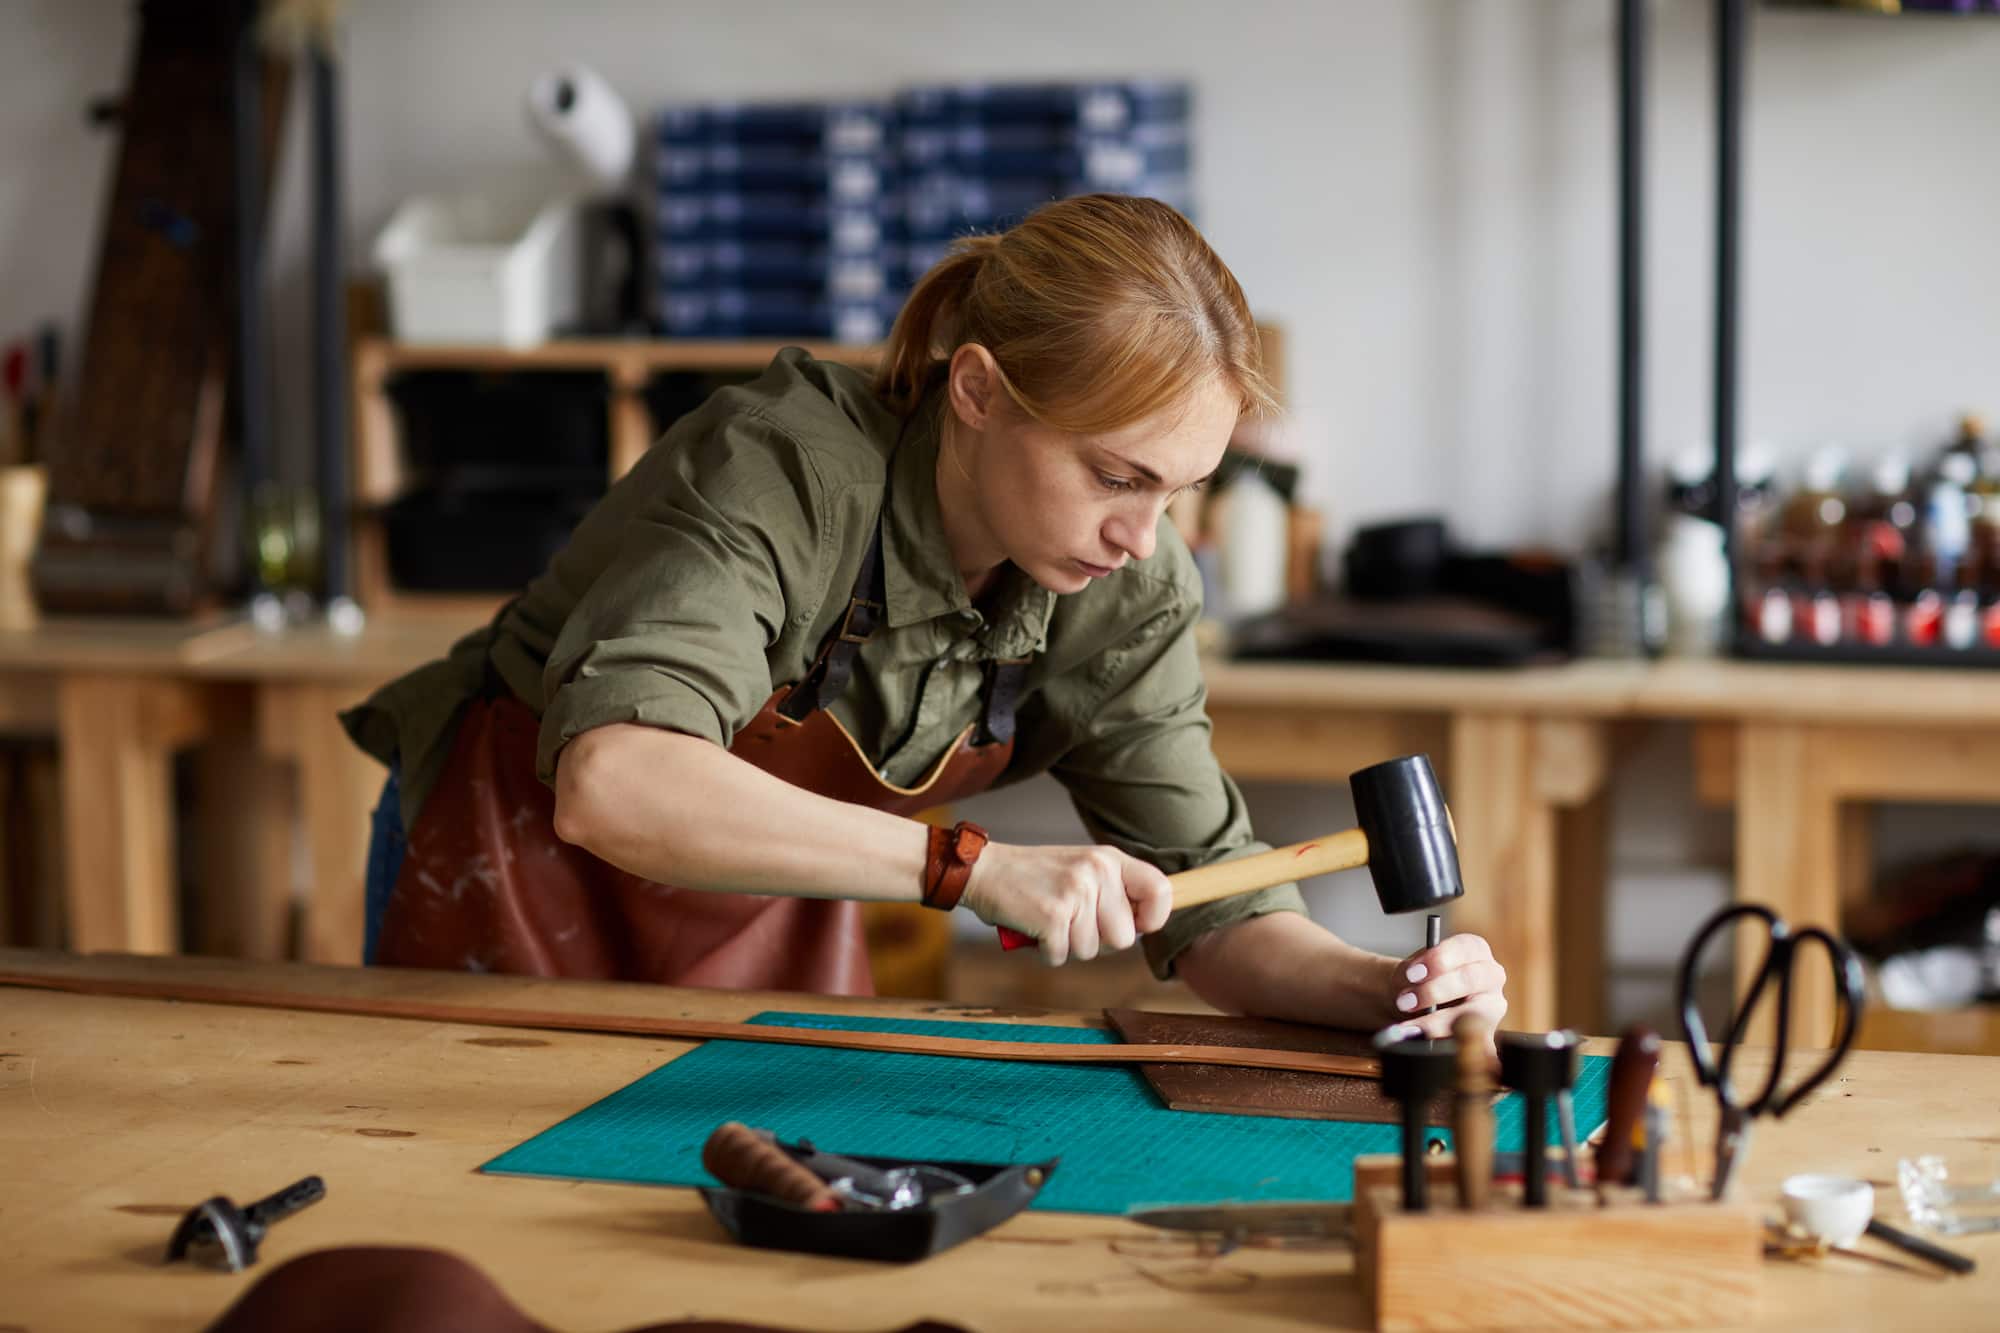
This is a simple but important step. Before uploading your image to your website, rename the file. Give it a short, descriptive name. I renamed the file from "NG5LC8Z.jpg" to "craft-person-at-work.jpg" in the image above.
It is worth noting that many CMSs rename files themselves when you upload them. Shopify and WordPress will both replace spaces in the file name with hyphens, so "craft person at work.jpg" becomes "craft-person-at-work.jpg" automatically.
This is good news from an SEO perspective. Google recognises hyphens as word separators, so it can read each word individually and understand what the image shows. By contrast underscores are ignored, so a file named "craft_person_at_work.jpg" would read to Google as one meaningless string.
Whether your CMS handles the hyphens or you do it manually, the principle is the same: a short, descriptive, hyphenated file name is another small signal that helps Google better understand what your page is about.
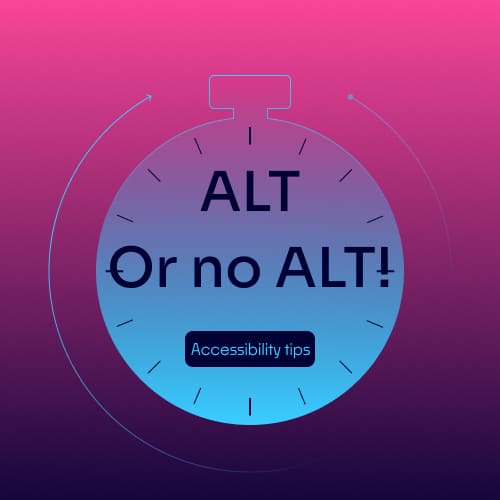
The alt attribute
When you upload an image to a web page, people will read any associated text and can view the image in context. However, if you rely on a screen reader to help you browse a web page, there is a way for the screen reader to 'read' the image. This is via ALT text. In the HTML of a web page, a small bit of code can be added to inform screen readers. This is called the ALT attribute.
Most modern Content Management Systems such as WordPress allow you to easily add ALT text when you upload an image.
Adding an ALT attribute doesn't directly affect the image; it simply adds a bit of code that explains the image. If you are writing about a Victoria Sponge recipe and have an image of the finished cake, add ALT text along the lines of "A Victoria Sponge cake ready to eat". Make the ALT text short, grammatically correct, informative and explain the image. Ask yourself - if I read the ALT text, does it describe the image in context to the text leading up to it?
Google and other search engines look for ALT text, and it is a significant SEO ranking signal.
Tools to help with image SEO
Squoosh
Squoosh is a free, open-source tool that handles all the main file types, including WebP and AVIF. If you have a 6000 x 4000 pixel, high-quality JPEG that comes in at 5MB, it's as simple as visiting the Squoosh website, dragging your image in from your computer, and Squoosh does its thing.
By default, Squoosh is set to convert your image to JPEG at 75% quality, but it's straightforward to change this, and we'd encourage you to experiment with WebP or AVIF output for smaller file sizes at the same visual quality.
We tried this to see how Squoosh optimised a 6000 pixel, 5MB image. Sliding the 'resize' option and adjusting the width to 2000 pixels (which automatically adjusted the height to 1333 to keep the aspect ratio intact), setting the method to 'Browser High Quality' and a MozJPEG quality of 50%, we reduced the file size to 88kB. That's a 98% reduction in file size with no discernible difference in image quality when viewed in a web browser.
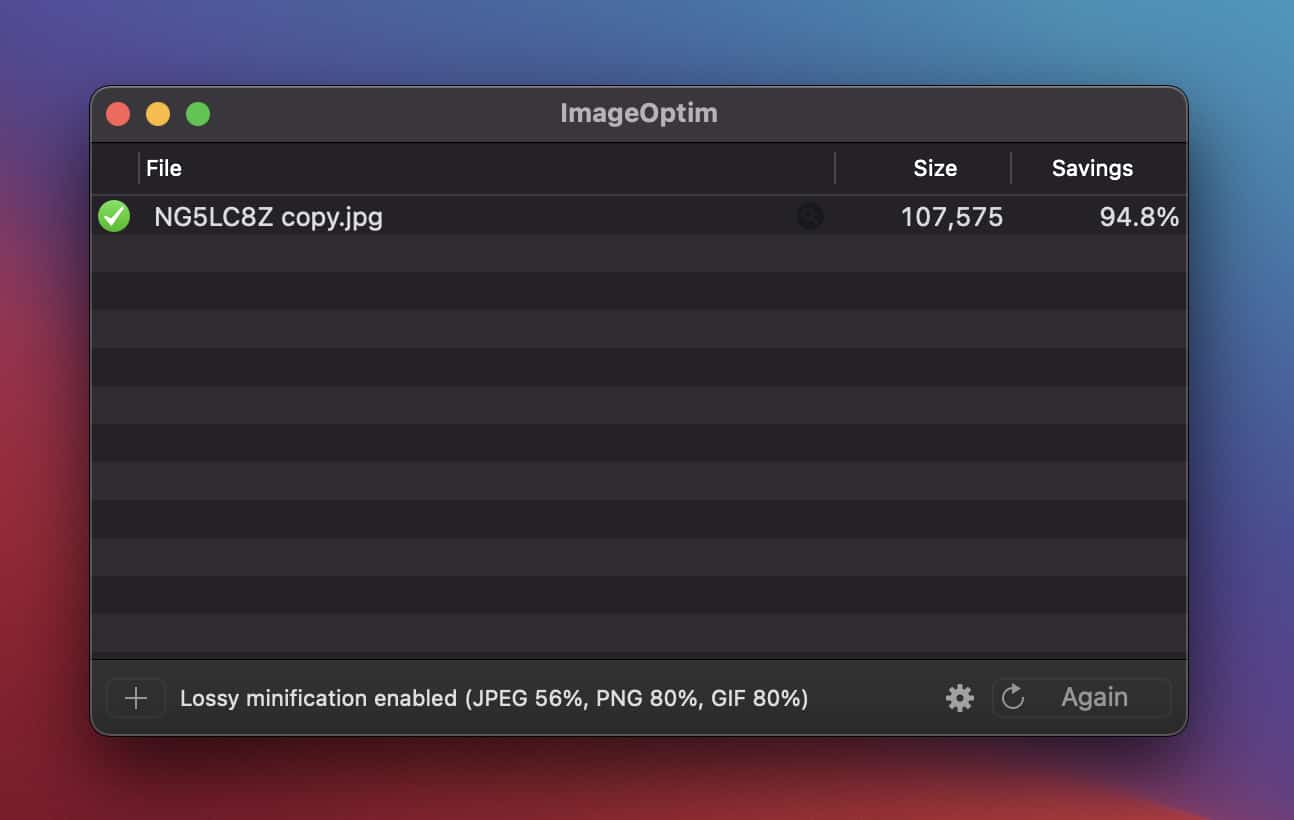
ImageOptim
ImageOptim is a free, open-source Mac app and a good option if you need to batch-optimise a large number of JPEG or PNG files quickly. Drag your images in and it processes them immediately — no preview, no resize option, so you'll want to have your images sized correctly beforehand. Note that ImageOptim doesn't export WebP or AVIF, so for modern format conversion Squoosh remains the better choice.
CDNs and automatic delivery
Depending on your hosting provider, you may be able to use a Content Delivery Network (CDN) to serve your images. A CDN caches your images on servers located closer to your visitors, which can meaningfully improve load times.
If you're on Shopify, this is largely handled for you. Shopify serves images through its own CDN and will automatically convert eligible images to WebP for supported browsers. That doesn't remove the need to upload well-optimised, correctly sized images, but it does mean the format conversion side is taken care of.
For other platforms, Cloudflare offers a free plan that's worth looking into. Setting up a CDN is more than we can go into here, but if you'd like to know more, please get in touch.
Image optimisation isn't the most glamorous part of running a website, but it's one of the most impactful. A few minutes spent on file format, size and naming before you upload can make a real difference to how quickly your pages load and how well they rank.